Creating a URDF for a robot
Now we will look into how to make MoveIt work with your own robot. First we need to describe the robot kinematics in uniform and machine-readable way.
This excercise will show you how to create a kinematic description of a robot. You will need my_robot_description ROS package
to be added to your catkin workspace. Get it from ros_training/resources/ folder. This package contains a URDF-file that describes a
simplistic manipulator. To see how the robot will apprear to a human eye, launch display.launch located within the package.
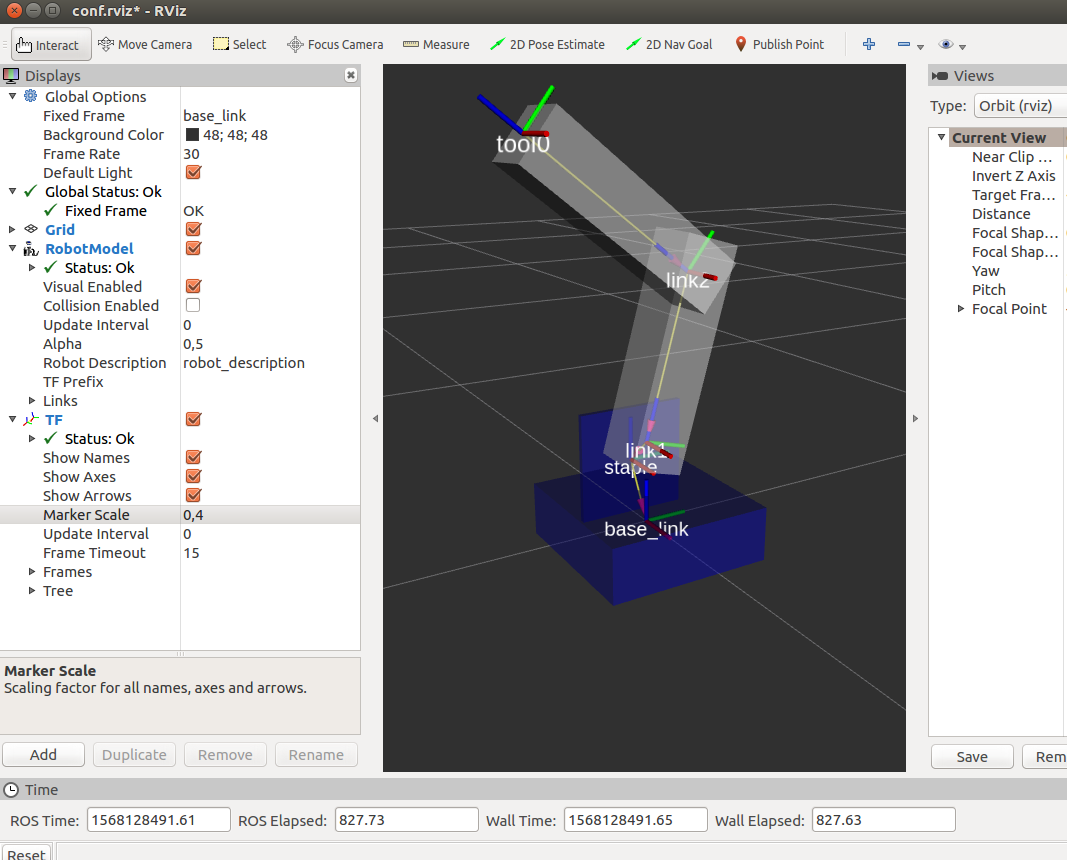
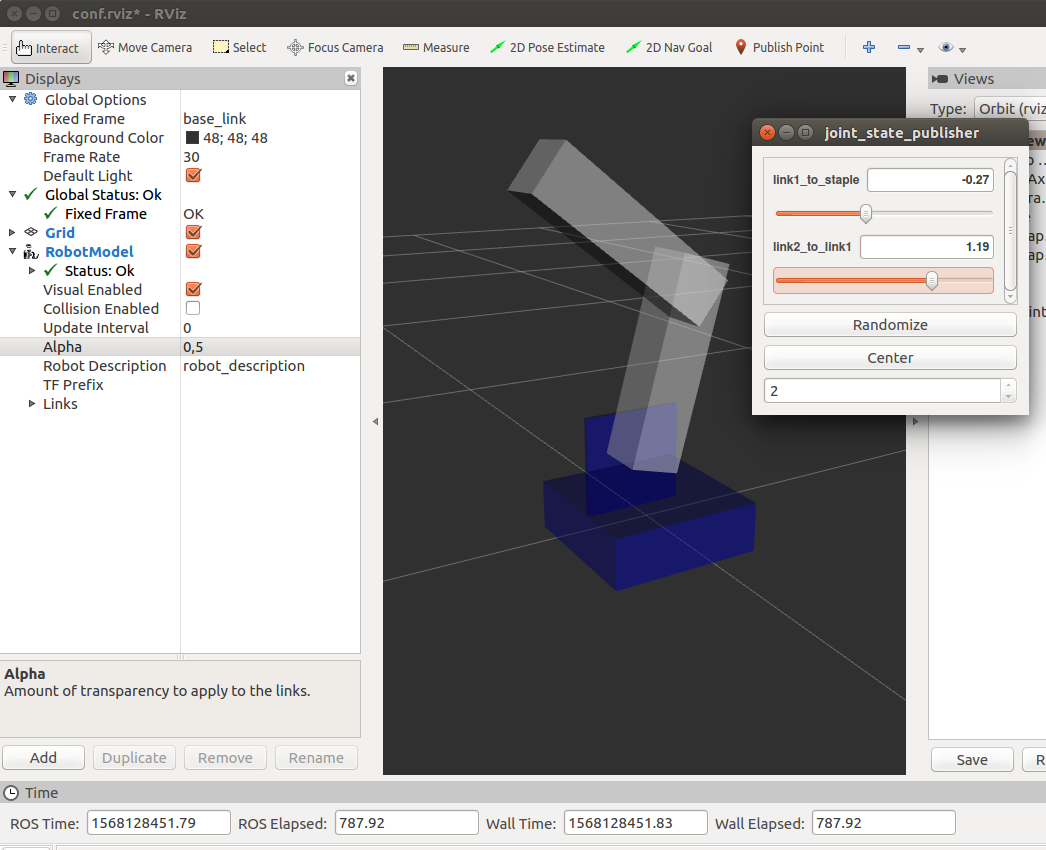
Two new windows should appear: in one window, you will see the 3D representation of the robot. And in another smaller window, a slider allows you to change one joint value. Use the slider to see its effect on the 3D model.
This visualized robot is described in a URDF-file located in my_robot_description/urdf folder. Open the URDF-file to see how the robot is
kinematically described.
Modify the URDF-file to include one more link (let’s name it link2). The link2 has exactly the same geometry as link1. Create a joint
that connects link2 at the end of link1 via a revolute joint.
After you have modified the URDF-file, you can use display.launch to see if everything appears as depicted in the next figure.
Next we’ll add one more link to the URDF-file. This will serve as virtual end-effector for our manipulator. Create a link without the visual tag: the entire link description shall be <link name="tool0"/>. Now use a fixed-type joint to attach this tool0 link at the end of link2.